
How to Retopologize AI-Generated Meshes in Blender
A production workflow for turning dense, triangulated or messy AI-generated meshes into cleaner Blender assets without destroying the shape you actually want to keep.
AI-generated 3D models often look convincing before you inspect the topology. Under the surface, the mesh may be extremely dense, heavily triangulated, fragmented into overlapping shells or full of features that are expensive to edit. The correct cleanup method depends on whether the asset will be static, subdivided, animated, printed or sent to a game engine.
The goal is not to force every AI mesh into the same quad pattern. The goal is to preserve the useful shape while rebuilding only what the downstream workflow requires.
Step 1: protect the source
Before changing topology, duplicate the original object or save a versioned copy of the file. Keep the source untouched until the rebuilt asset has passed visual and technical checks.
This matters because retopology can lose UVs, vertex groups, shape keys, material assignments or small geometric details. A protected source gives you something reliable to transfer from later.
Step 2: diagnose the mesh before choosing a solver
Check the asset for:
- Extremely high face count.
- Non-manifold edges or holes.
- Self-intersections and overlapping shells.
- Disconnected fragments that should or should not remain separate.
- Very thin surfaces such as cloth, fins or panels.
- Hard edges and planar areas that must remain sharp.
- Existing UVs or textures that need to survive.
- Rigging, shape keys or vertex groups that make destructive rebuilding risky.
Do not start by asking for a target polygon count. First decide what kind of geometry you have.
Step 3: reduce only when density is the blocker
For very large AI meshes, creating a lighter proxy can make the retopology process practical. But reduction should not be automatic. If decimation removes a thin panel, facial feature or mechanical cutout that you need later, the proxy has already failed.
Use the smallest reduction that makes processing manageable while preserving the silhouette and important features. Keep the original available for projection and attribute transfer.
Step 4: choose the cleanup path by mesh type
Dirty organic volume
If the model contains intersections, internal fragments or a broken surface, Voxel Remesh is often a useful repair stage. Blender rebuilds the mesh from a volumetric grid, which can remove internal self-intersecting structure and create a continuous surface.
After that repair, you can use a quad-oriented method if you need more regular topology.
Coherent organic surface
If the model already has a good shape and continuous surface but poor triangulation, a quad remesher can be a better first step. Blender's QuadriFlow tool provides a built-in option. Specialist tools such as Quadify Ultra or Fast Remesher can add routing, presets and fallback behavior for repeated production work.
Hard-surface model
Hard-surface assets are where generic smoothing often causes the most damage. Identify sharp boundaries, panel lines, flat regions and small openings before rebuilding. If the output rounds a crisp feature that defines the object, a lower polygon count is not an improvement.
Use a hard-surface-aware workflow and compare the result directly against the source silhouette.
Garment or open shell
Thin shells need boundary preservation. A volumetric method may accidentally close openings or thicken the asset into a solid. Treat garments, leaves, wings, panels and similar geometry as open-surface cases rather than ordinary closed volume.
Step 5: inspect the result beyond quad percentage
A high quad percentage is useful, but it is not sufficient. Look for:
- Collapsed or extremely stretched faces.
- Dense pole clusters in visible areas.
- Broken boundaries.
- Lost holes or merged components.
- Surface drift away from the original.
- Wavy shading on originally planar areas.
- New non-manifold regions.
Turn on wireframe display and compare the rebuilt object with the original from several angles.
Step 6: recover materials and surface data after geometry is stable
Do not spend time repairing UVs on a mesh you may remesh again. First stabilize the geometry. Then recover what the final asset needs:
- Keep the original visible or available as a transfer source.
- Reproject or transfer UVs where practical.
- Restore material slot assignments.
- Transfer vertex colors or other attributes if required.
- Rebuild normals and inspect shading.
- Reconnect the asset to the intended material setup.
For a game asset, test the exported result in the target engine rather than assuming Blender viewport shading is enough.
Step 7: handle animation separately
If the AI model will be rigged, automatic retopology is usually a starting point, not the final answer. Deformation needs intentional loops around joints and facial features. Blender's own documentation notes that automatic remeshing is not a perfect solution for final deforming character topology.
A practical approach is to use automatic cleanup to simplify the source, then manually retopologize the areas that need controlled deformation.
Step 8: validate the asset before deleting the original
For static production assets, check:
- Silhouette at the intended viewing distance.
- Face count and object count.
- Normals and shading.
- UV integrity and texture appearance.
- Material assignments.
- Scale, orientation and origin.
- Engine import behavior if the asset leaves Blender.
For animation, add deformation tests for the actual rig.
A reliable decision sequence
If the source is broken and intersecting, repair the volume first.
If the source is coherent but over-dense, use a surface or quad-oriented rebuild.
If the source is hard surface, protect sharp structure and planar regions.
If the source is an open shell, preserve boundaries and avoid blindly voxelizing it.
If the destination is animation, plan for manual deformation topology where needed.
The most reliable AI-mesh workflow is therefore not one algorithm. It is diagnosis, safe rebuilding, comparison against the source and validation against the destination.
Tools mentioned in this article
Product availability and pricing may change.
.jpeg)
Blender · macOS · Windows · Linux
Quadify Ultra — ML-Routed Retopology for Blender 5.0+
Blender · macOS · Windows · Linux
Useful when a library contains several mesh classes that need different remeshing strategies.
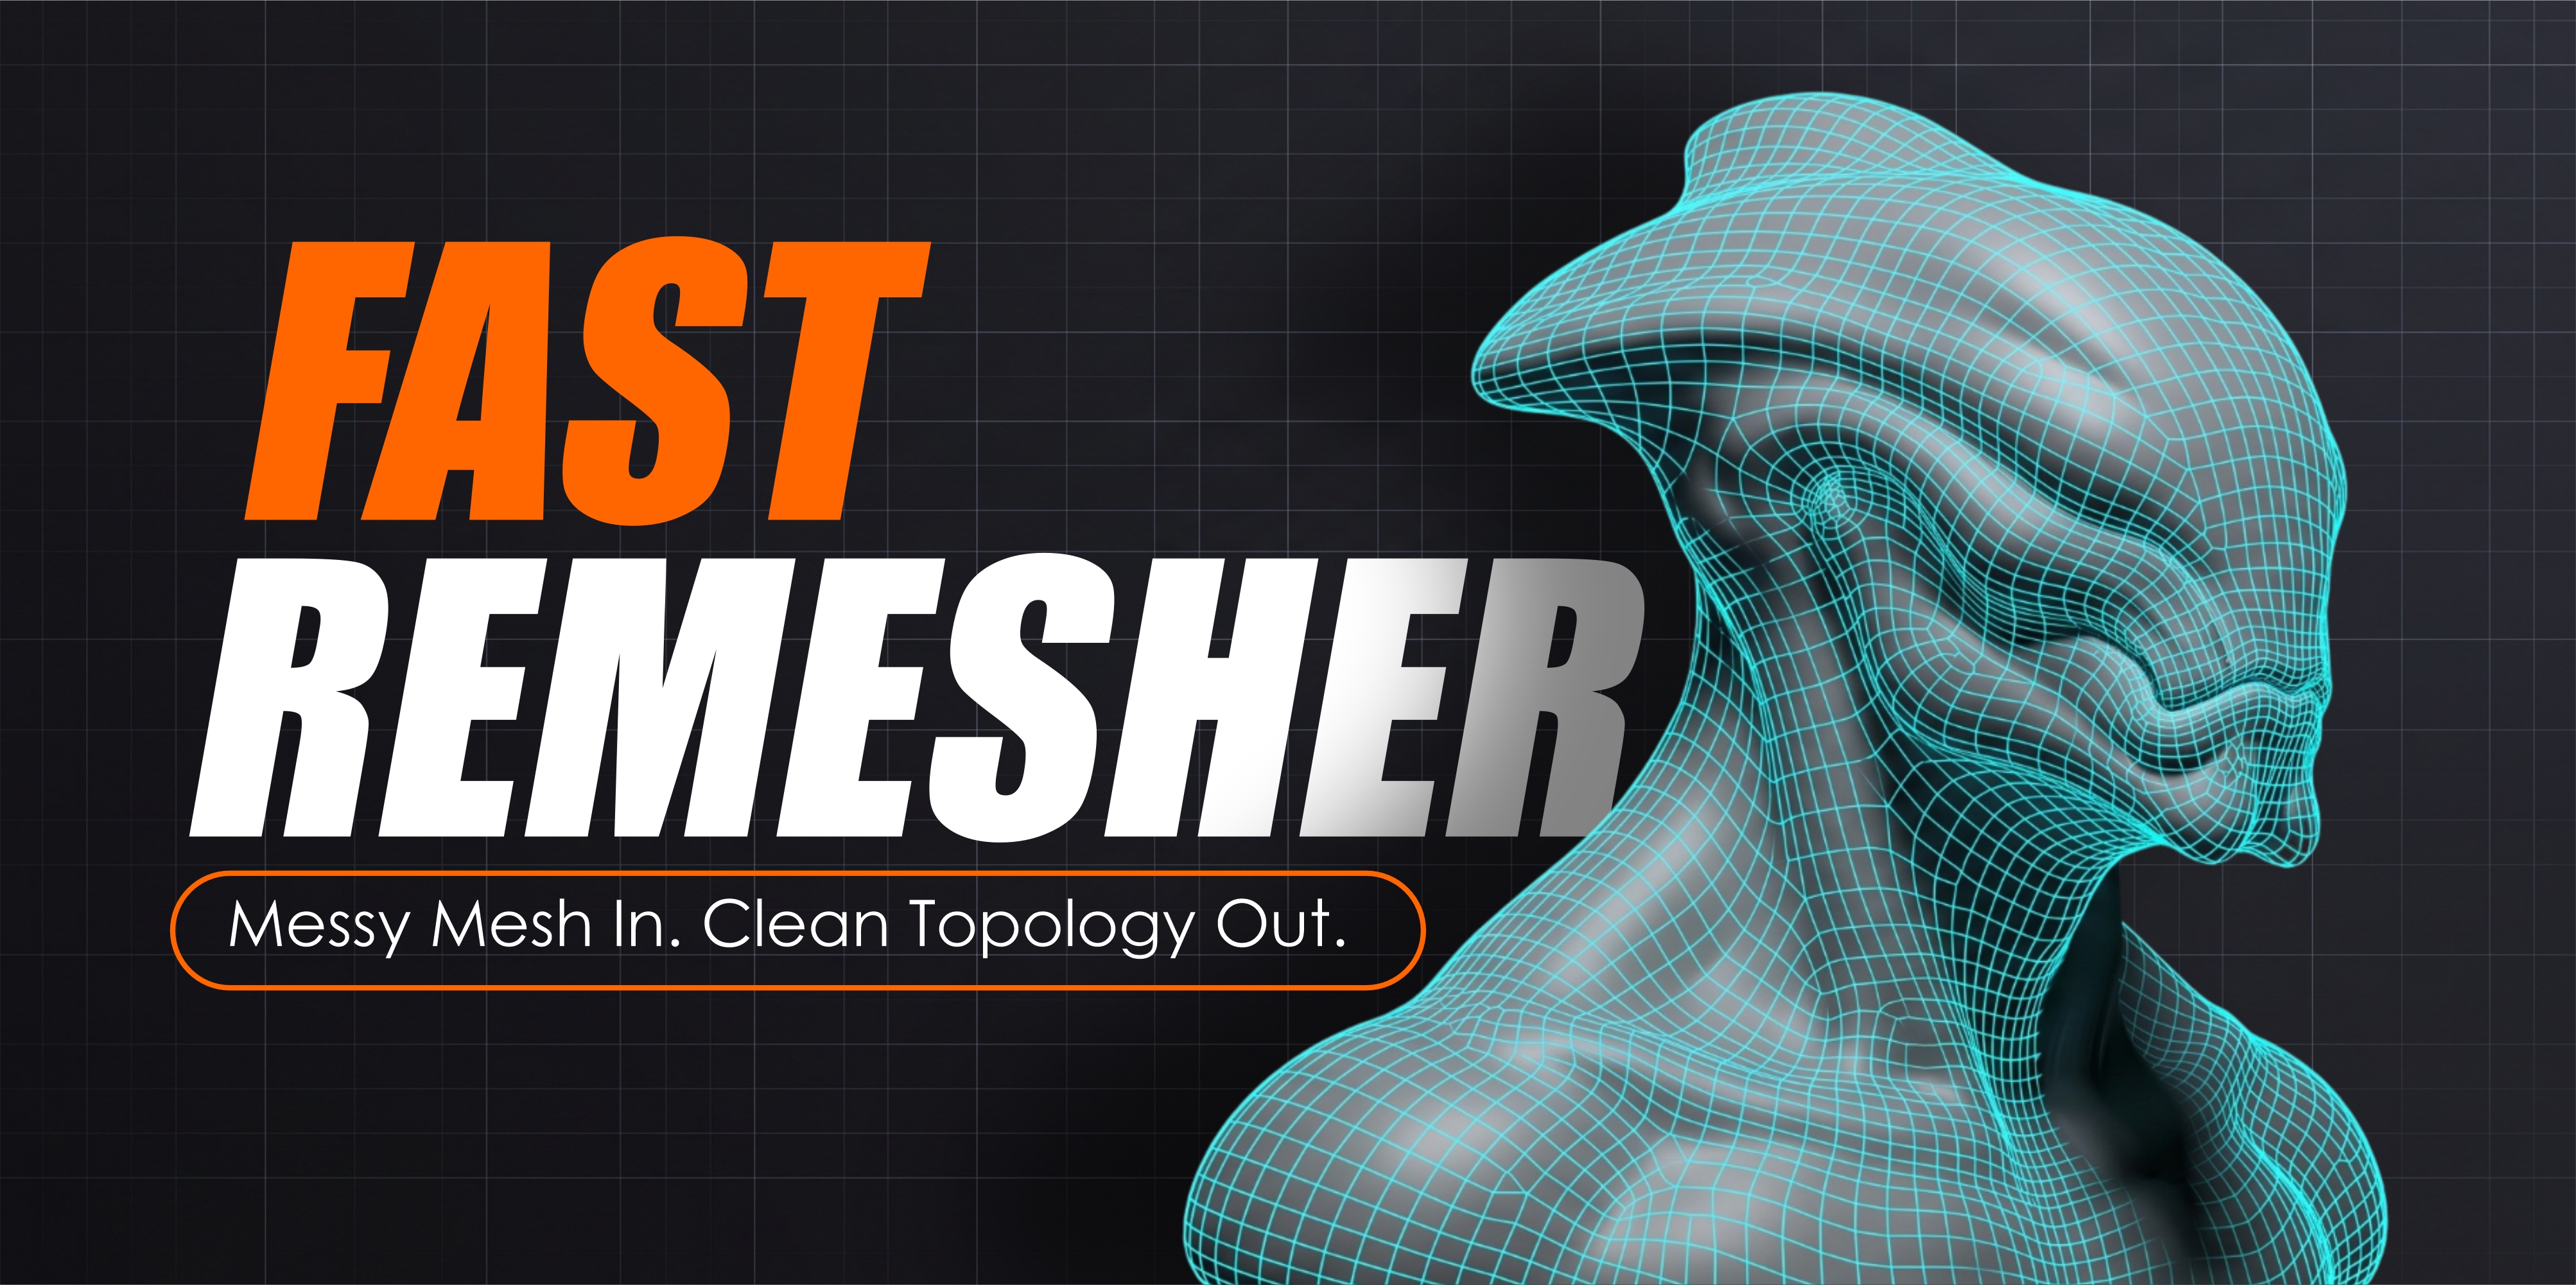
Blender · Linux · Windows · macOS
Fast Remesher
Blender · Linux · Windows · macOS
Useful for focused organic, hard-surface and open-mesh cleanup.
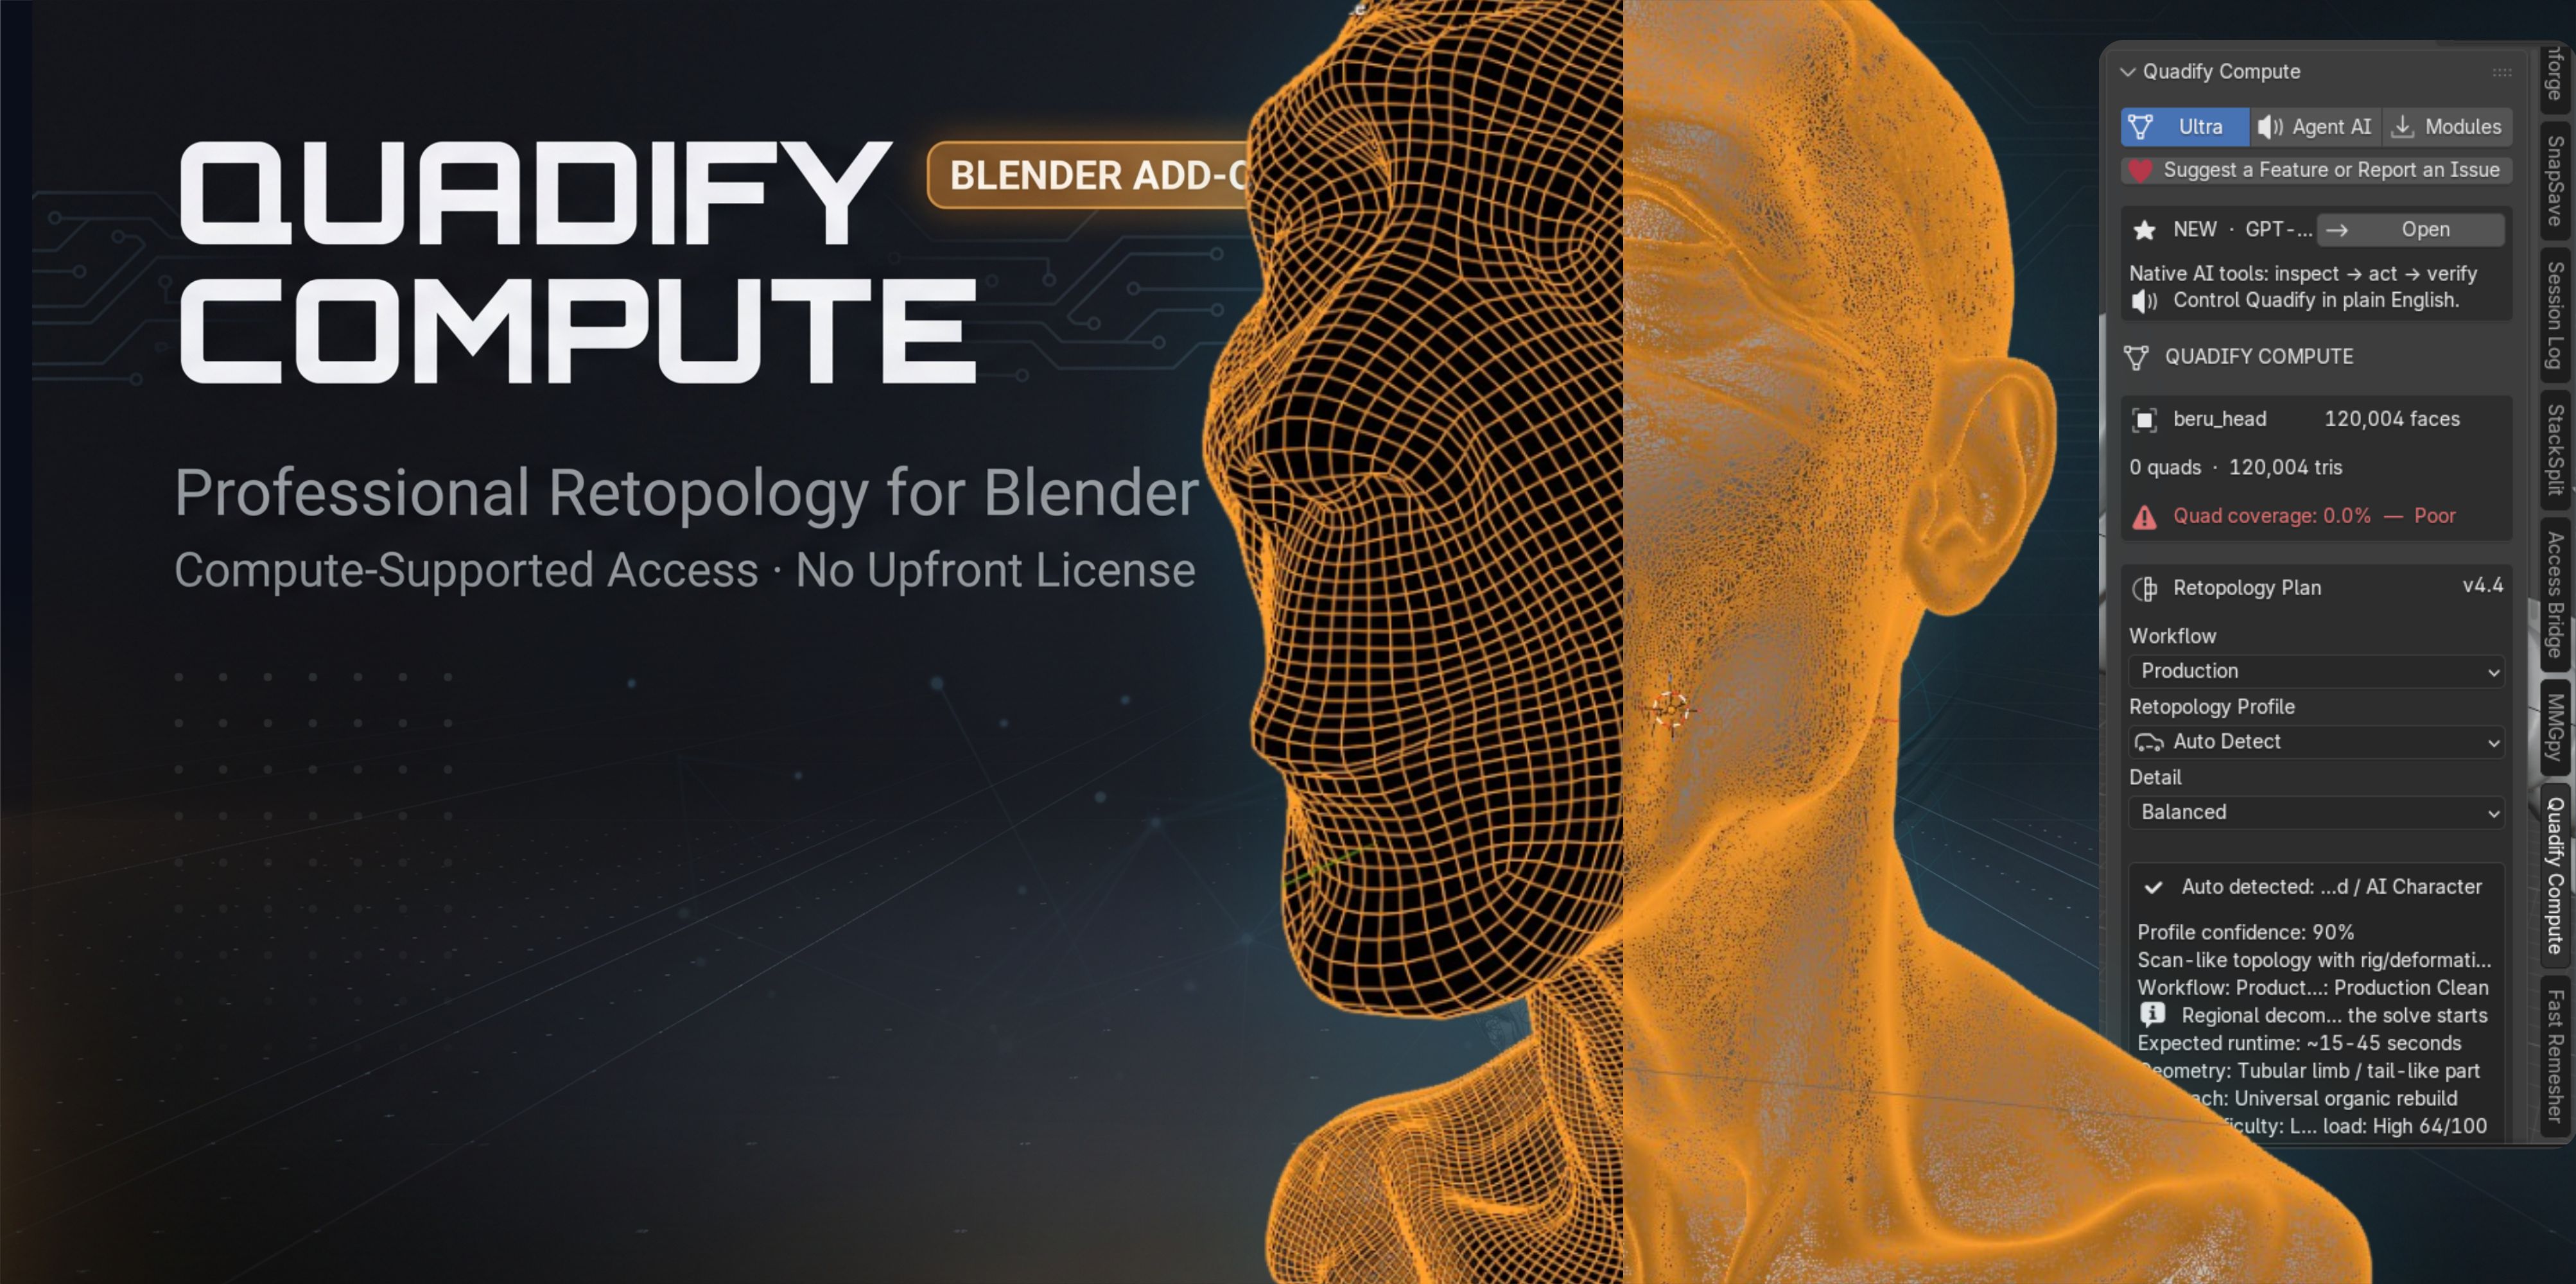 Free
FreeBlender · Linux · macOS · Windows
Quadify Compute
Blender · Linux · macOS · Windows
Free way to test automatic retopology on AI-generated meshes.
Common questions
Why are AI-generated meshes often hard to edit?
Many generated meshes prioritize visible surface appearance over production topology. They can be overly dense, triangulated, intersecting or fragmented even when the rendered shape looks good.
Should I always convert an AI mesh to quads?
No. The required topology depends on the destination. A static prop, a sculpt base and an animated character have different needs.
Can I preserve the original textures after retopology?
Often yes, but texture preservation may require UV or attribute transfer. Stabilize the new geometry first, then transfer the data from the protected source.